Creating the Dremio CloudFormation Stack
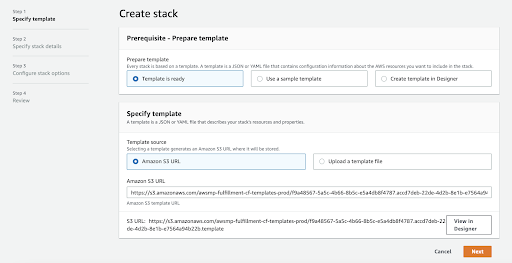
- Create Stack
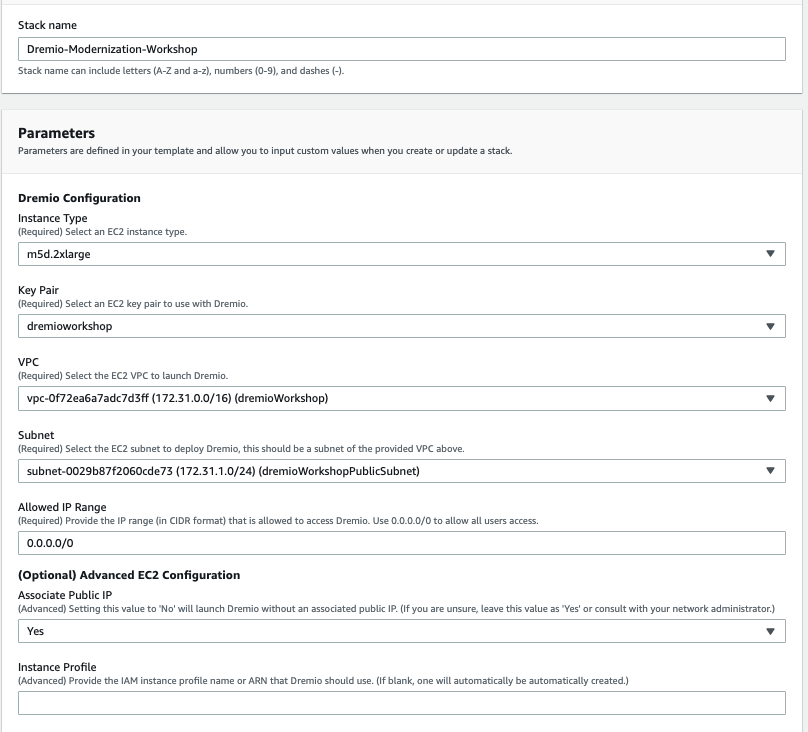
- Specify Stack Details
- Configure Stack Options For this page, you do not need to add anything additional, continue by pressing "Next" at the bottom of the screen
- Review Stack Review the inputs and make sure they match the steps above. At the bottom of the screen under “Capabilities” click that the check box that acknowledges that CloudFormation might create IAM resources.
Ensure the following options are checked to mirror the image below. *Note* that the Amazon S3 URL will be different from the example. Once the correct options are checked, click "Next" at the bottom of the screen.
Provide a Stack Name. An example would be Dremio-Modernization-Workshop.
Make your selections as per the image below.
Once finished, press next at the bottom of the screen. Select the acknowledgment check box and click "Create Stack"
Now you should see the CloudFormation Status say “CREATE_IN_PROGRESS”.
 It should take approximately 2 minutes to create the stack. Once the stack is completed, the status will change to CREATE_COMPLETE. Once the stack has been created, navigate to the “Outputs” tab under the name of your CloudFormation Stack
 From the “Outputs” tab, you should see the DremioPublicEndpoint which will be an IP Address. Click the IP Address to launch Dremio
